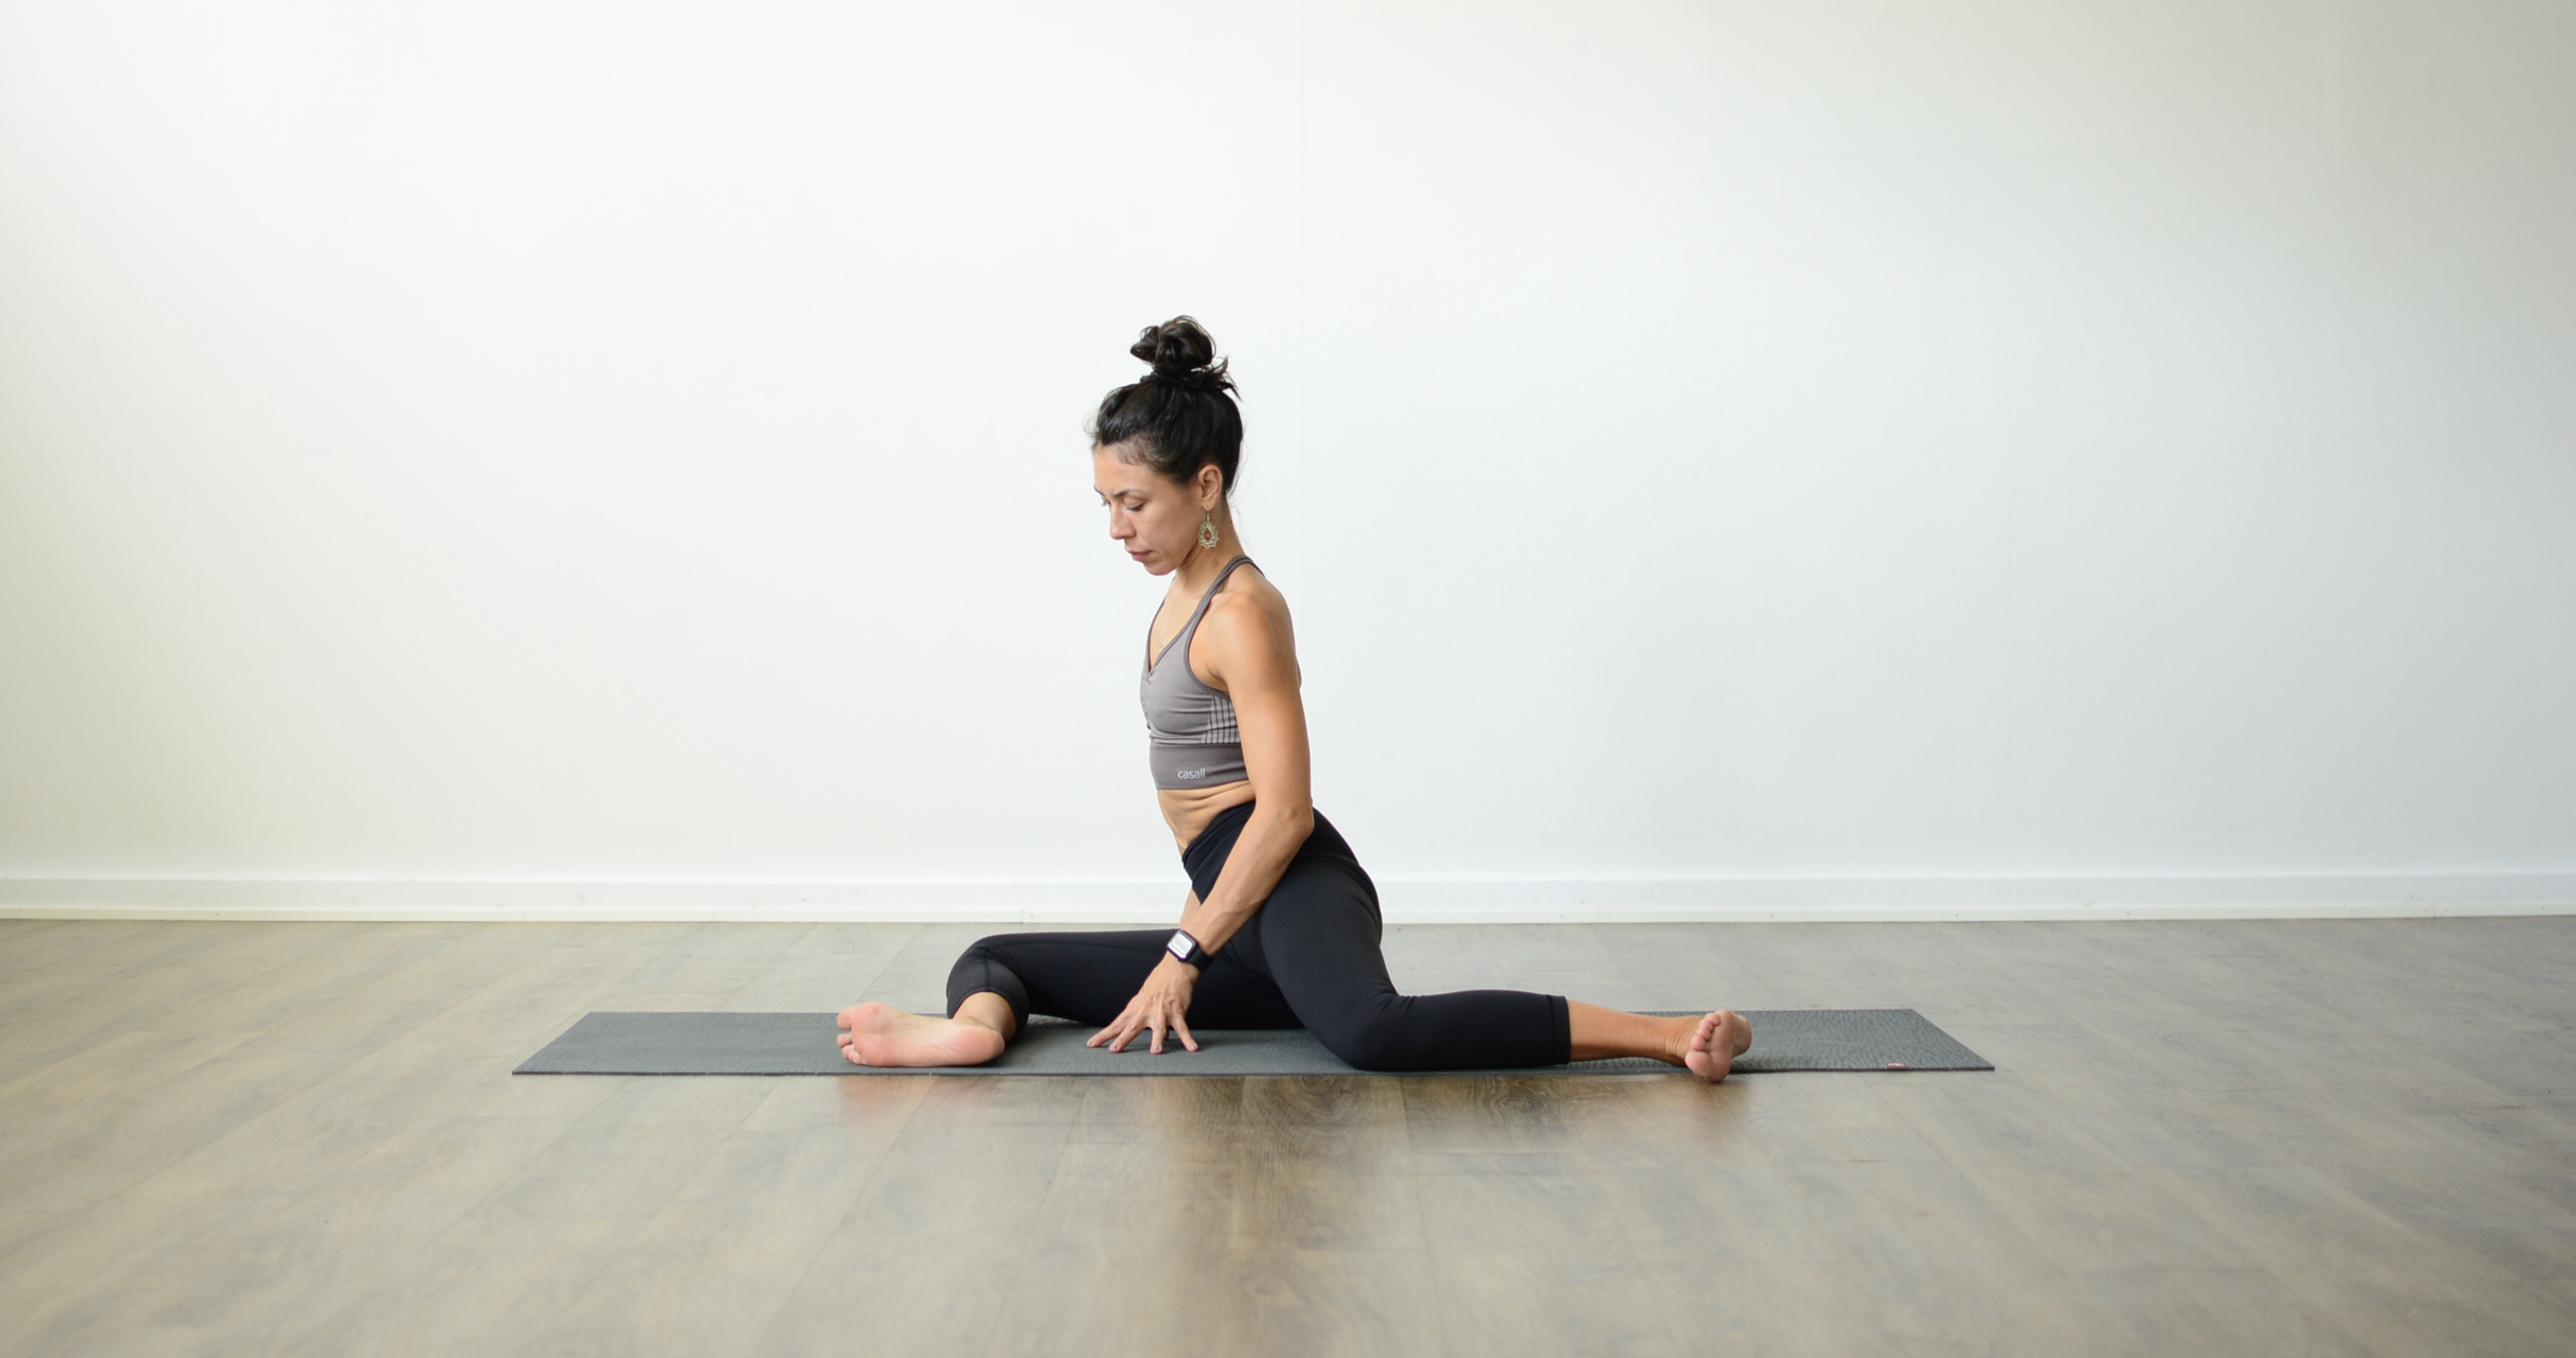
Ardha chandrasana with Pada hastasana

Half moon pose with Hands to feet pose
In Bikram yoga after the first breathing exercise standing deep breathing comes a series of postures that are done in a sequence as a part of the warm-up. Half-moon pose with hands to feet pose. This is an excellent sequence on its own to get the spine ready for deeper stretches and has loads of benefits. So it has lateral stretch (side bend) in Ardha chandrasana, backbend in Anuvittasana and forward bend in Padahastasana. Let's look at them one by one.

Ardha chandrasana step by step
- First, start with feet together, toes and heels are touching or as close as possible.
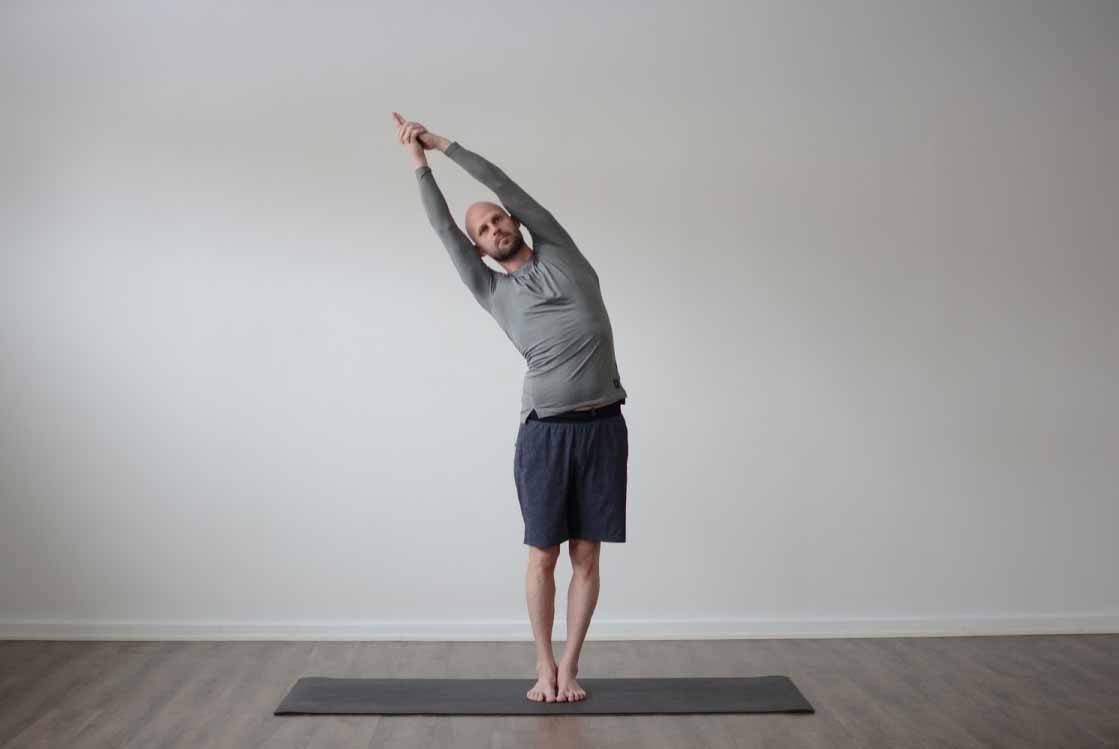
- Standing straight with arms stretching down, eyes forward.
- Stretch your arms overhead sideways and interlock your fingers, release the index fingers and cross your thumbs.
- With this firm grip, you stretch up to the ceiling and move your upper body side to side a couple of times starting to warm up the side body. More like you stretching and pulling your arms to the sides and pushing the hips the opposite direction in a straight line. After a few times, you stop in the middle.
- You stretch the arms up as much it is possible so biceps are with ears and you are in a straight line from fingertips down to heals.
- Feel strong in the body, so some contraction of thighs and hips is needed and tone the abdomen for support
- On inhale, you stretch up to the ceiling and down to the right and coming down so much so that it is possible for you to maintain the same straight line from fingertips to heels and you can breathe comfortably, and you feel strong and not collapsing down.
- You should feel all the stretching on the lefts side of the body.
- If you feel weak and are about to collapse, go back a couple of degrees where you can stay and maintain a proper form for at least 10 seconds.
- Come back up to the middle and repeat on the left side.
Breathing in Half moon pose
In the setup, it is normal breathing, and as soon you enter the pose start applying 80-20 breathing. Fill up the lungs 100 percent and use the top 20 percent of the lungs with breathing in and out through the nose.
Beginners tips
- It is easy that chin will drop to the neck, so continue lifting it as much you feel your head and neck is in a neutral position.
- The bottom shoulder tends to fall back, so move it forward in line with the upper shoulder.
- When you move the bottom shoulder forward, it is important that not the opposite hip is falling back, so keep an eye that both hipbones are in one line.
- Legs and arms strong. When it is an urge to come deeper in the pose, it is easy to lose the form by bending legs and arms, but this is not the way to come deeper so when that is happening you move back to the point where you had the proper form.
- Use a full-length mirror to see your form if you don't feel it in the body.
Benefits half moon pose
- Lateral stretch is perfect for tightness and pain in the lower back.
- Stretching out the whole side body from Gluteus maximus, Gluteus medius, Internal and external obliques (Lateral part), External oblique (anterior part), Serratus anterior,
- Get the blood flowing and open ups tight shoulders.
- Is building strength in the upper body.

Backbend step by step
After both sides in half moon pose, it is time for the first backbend.
- From the same position stretching up towards the ceiling, begin with a deep inhale filling the lungs and drop your head back. Look at the floor behind you.
- Move your arms back immediately as far as it goes and bend your spine backward from coccyx to the neck.
- Bodyweight in heels, legs straight and strong.
- Lift your chest so you don't collapse into the lower back and push your stomach, legs, hips forward.
- Move your arms back more, stay with 80-20 breathing as long as 10 seconds
- Come back up to where you started.
Benefits standing backbend
- Opens up the whole front body, psoas, abdomen, chest, throat
- Release tension in neck and shoulders
- Builds strength in legs, arms and back muscles.
- Preparatory for deeper backbends like Standing bow pulling, Bow and, Camel pose
Breathing in the backbend
As soon as you enter the pose start applying 80-20 breathing. Fill up the lungs 100 percent and use the top 20 percent of the lungs with breathing in and out through the nose.

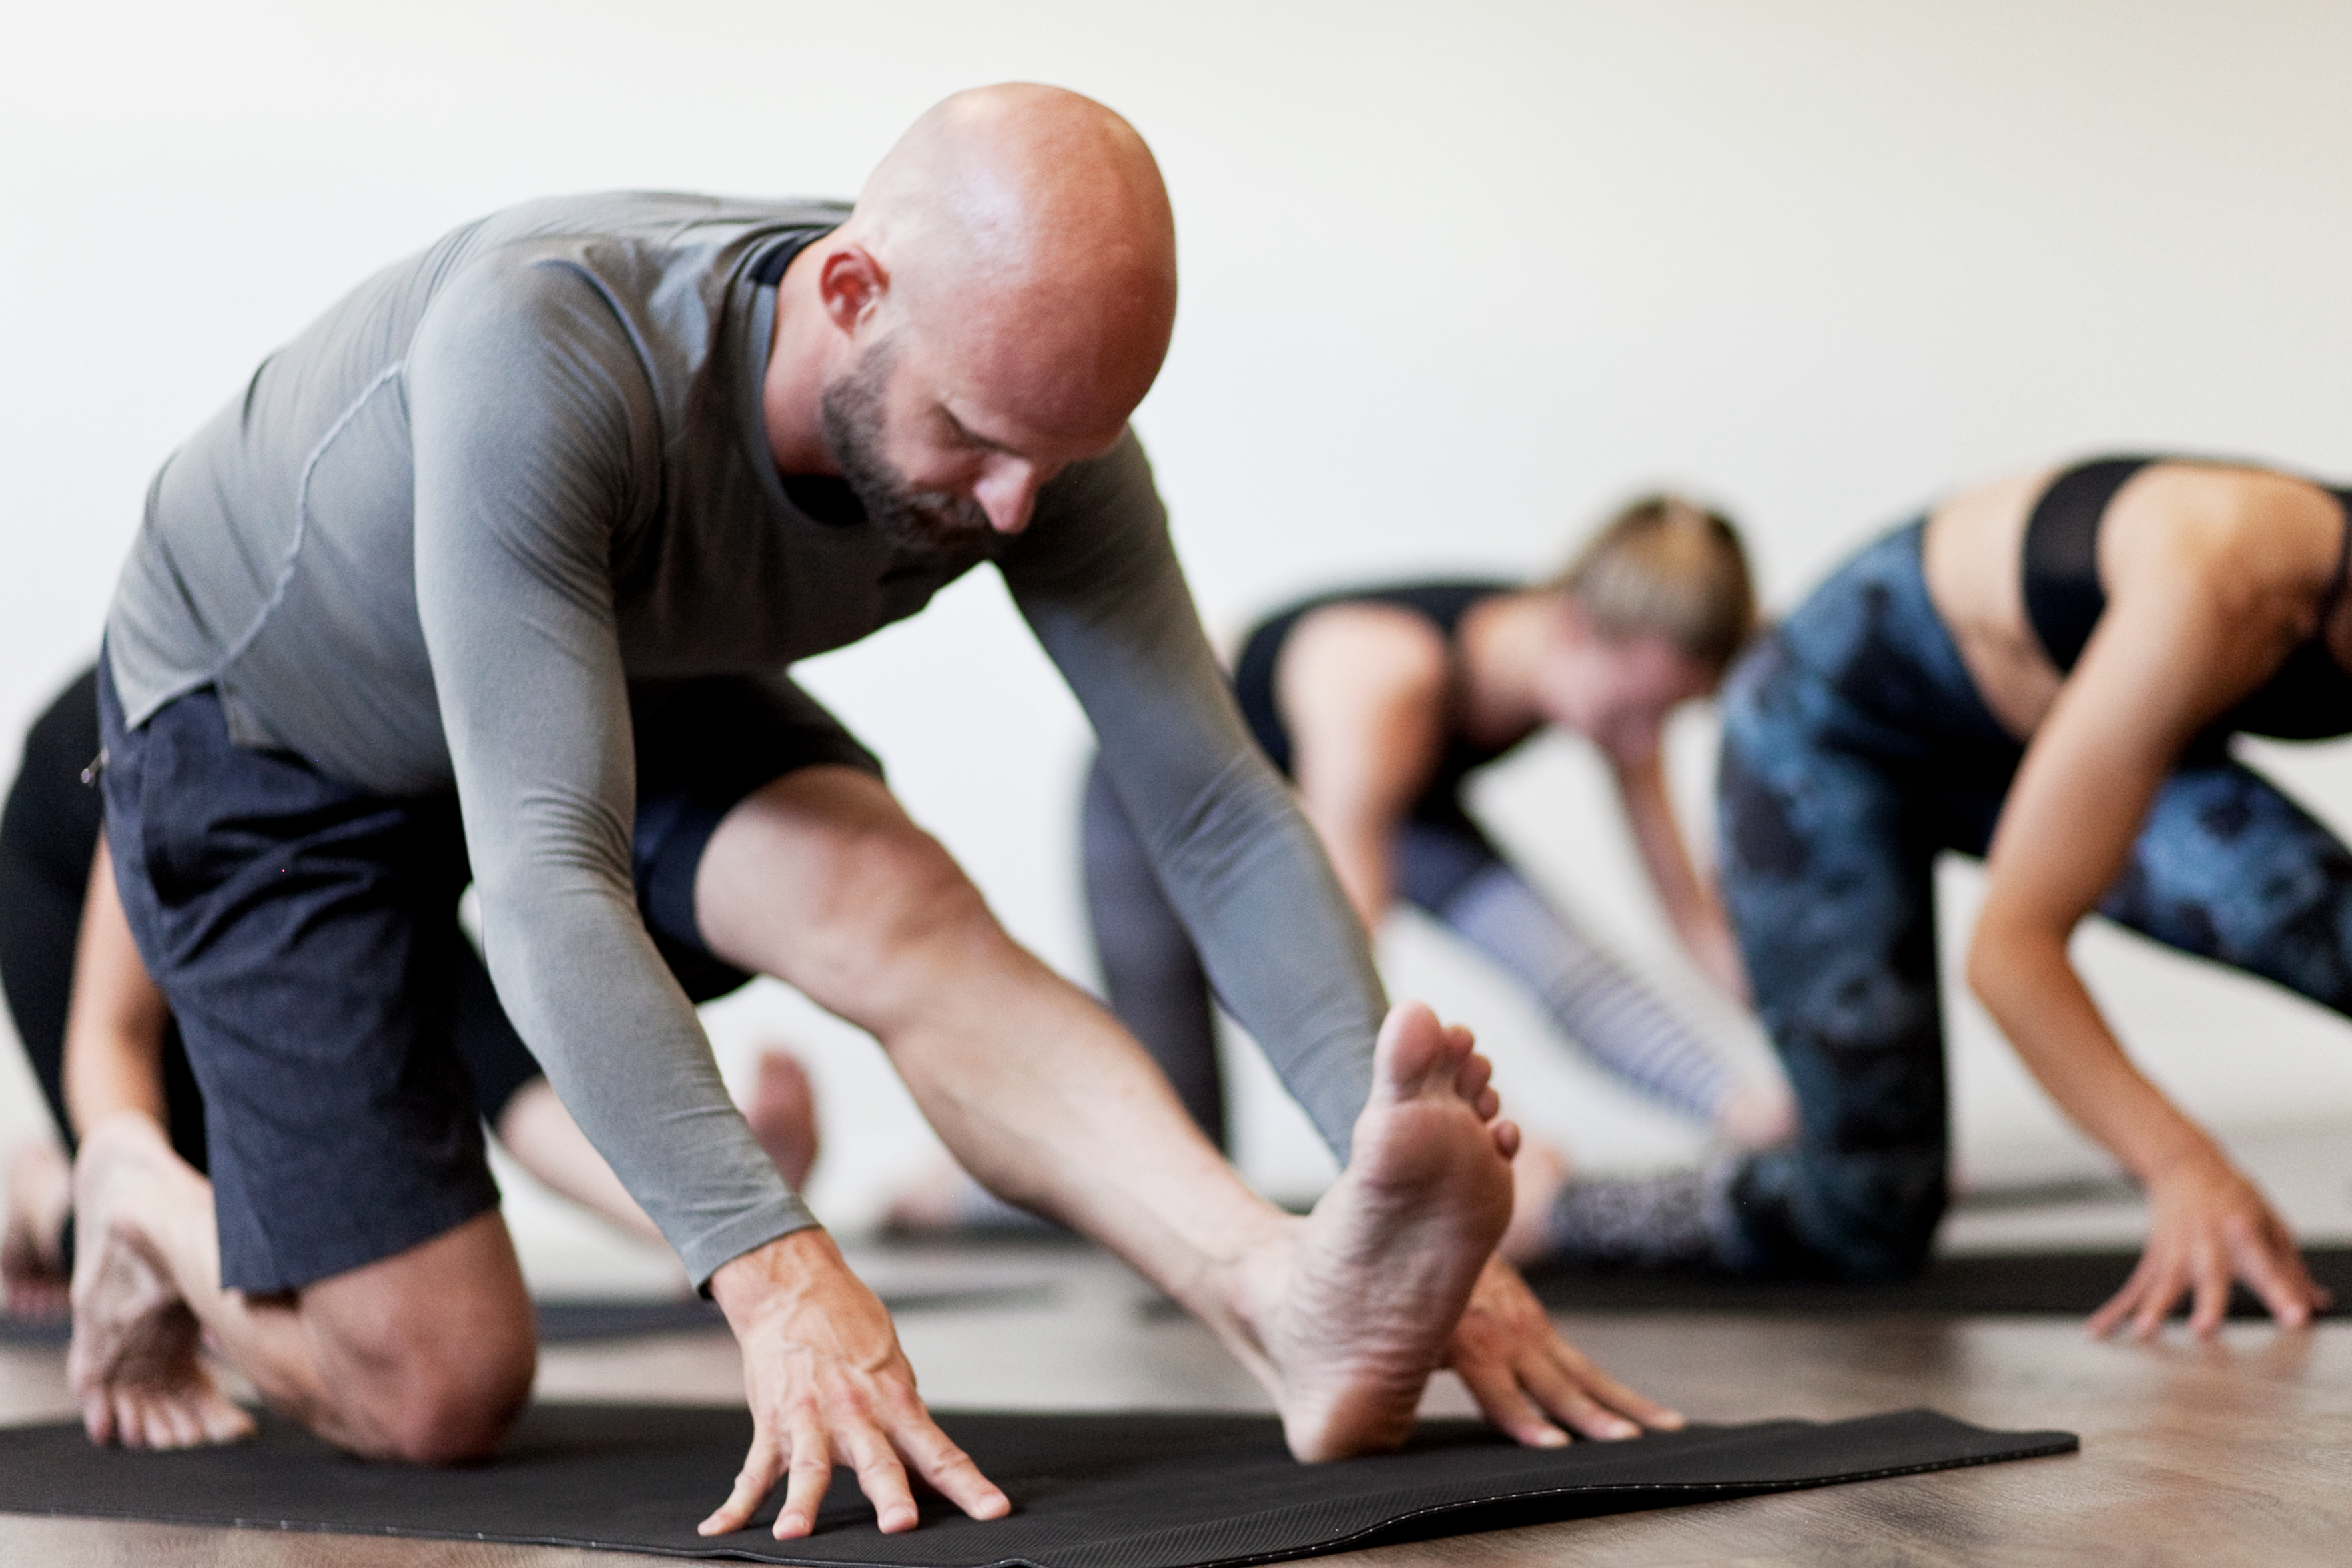
Padahastasana step by step
- Bend your knees and put your hand on the floor in front of you and move your hips right to left warming up and making sure lower back is relaxed. Starting opening up your backside, hamstrings, hips, lower back. Do this as long as you feel needed up to 10-15 seconds.
- Bodyweight on toes, grab your heels from behind so little fingers are touching and try to hide your elbows behind the calf muscles.
- Pull on your heels, lift your hips and push your knees back up as much as possible without losing contact between stomach and thighs.
- Stretch your body down from the lower spine towards the floor trying to create one straight line from the coccyx to toes, coccyx to the forehead, face on legs below knees and top of the head down towards the feet.
- Hide elbows more and get the shoulders away from the ears.
- On inhale come up with arms and head together.
Benefits Padahasatana
- Stretches the entire back body, hamstrings, hips, lower back, eventually whole back
- Good for digestion
- Stress reliever
- Get the blood flowing
Beginners tips
- If you have extremely short hamstring try to hug your legs as much as possible from behind until you are open enough to grab your heels.
- If you can't get the stomach to thighs, try your hardest to get the forehead to knees.
Breathing in the Padahastasana
Normal breathing here because in deep forward bend is no need to keep lots of air in the lungs.